
In our local church community, every Valentine’s Day we hold a special event for the couples called Couple’s Night. The youth serve the meals, the venue and also assist with the marriage theme of the event to allow the parents or the newlyweds to have a date night where they can celebrate their love with fellow church members and God. Our pastor usually gives a brief message reminding each couple of how they should put God at the center of their relationship.
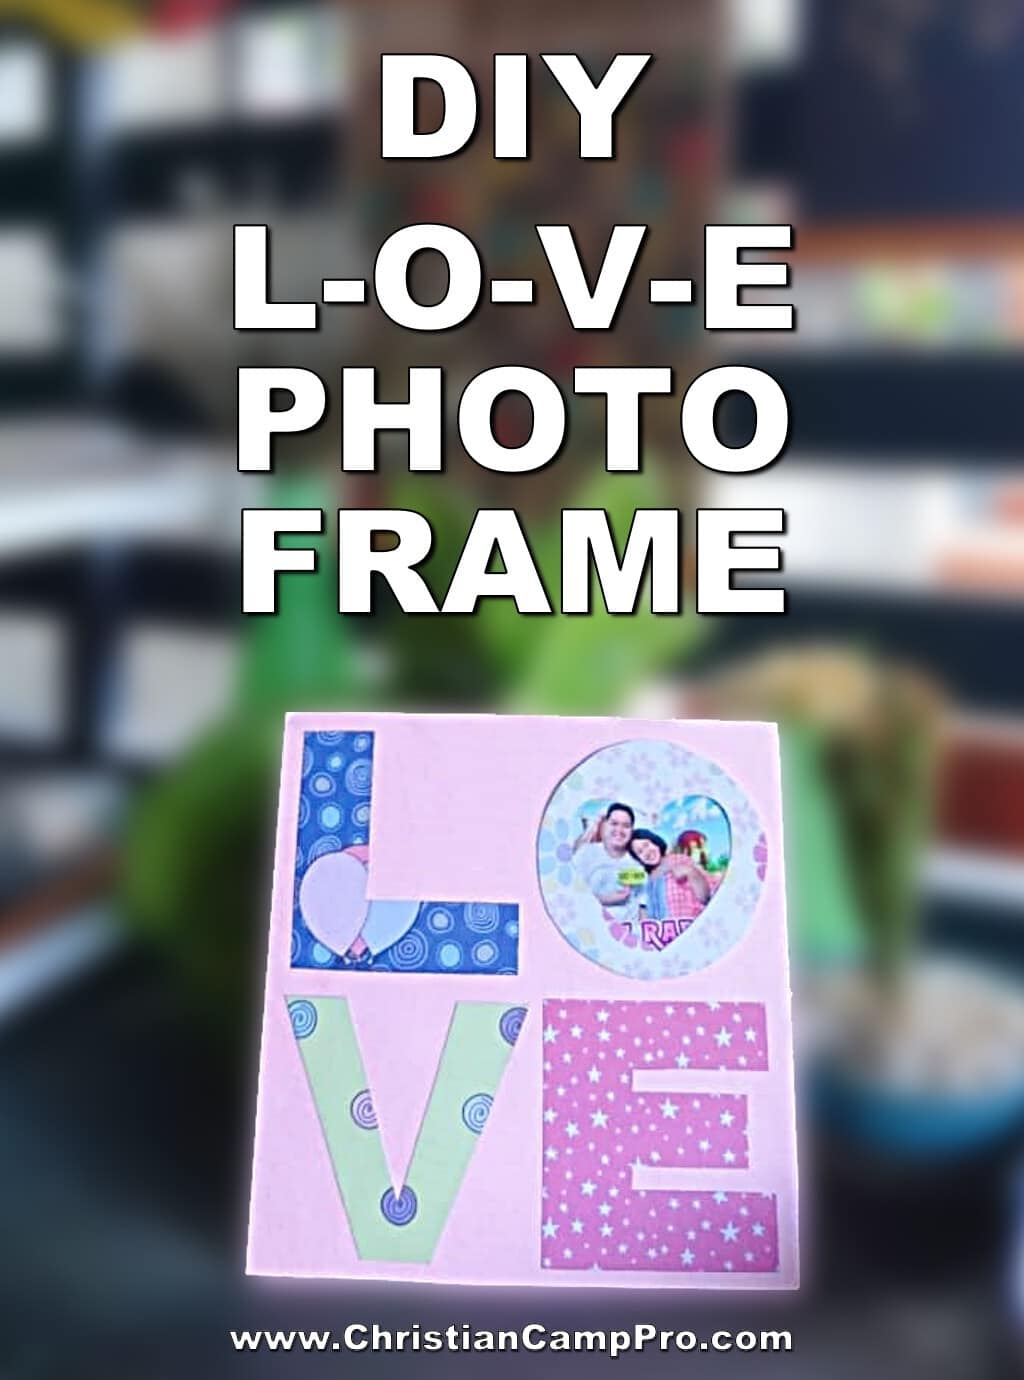
We also plan a fun activity that the couples can do that night, one craft that we did before is a DIY L-O-V-E Photo frame, a quick and easy to do an activity that the couples really enjoyed.
Since Valentine’s Day is right around the corner, why don’t we try to remake that DIY L-O-V-E photo frame that we did before so you can also do it in any of your church’s upcoming marriage or couples’ retreats? It is also a perfect gift that the attendees can take home as a souvenir of the event!
Let’s start crafting!
How to make a DIY LOVE Photo Frame Craft
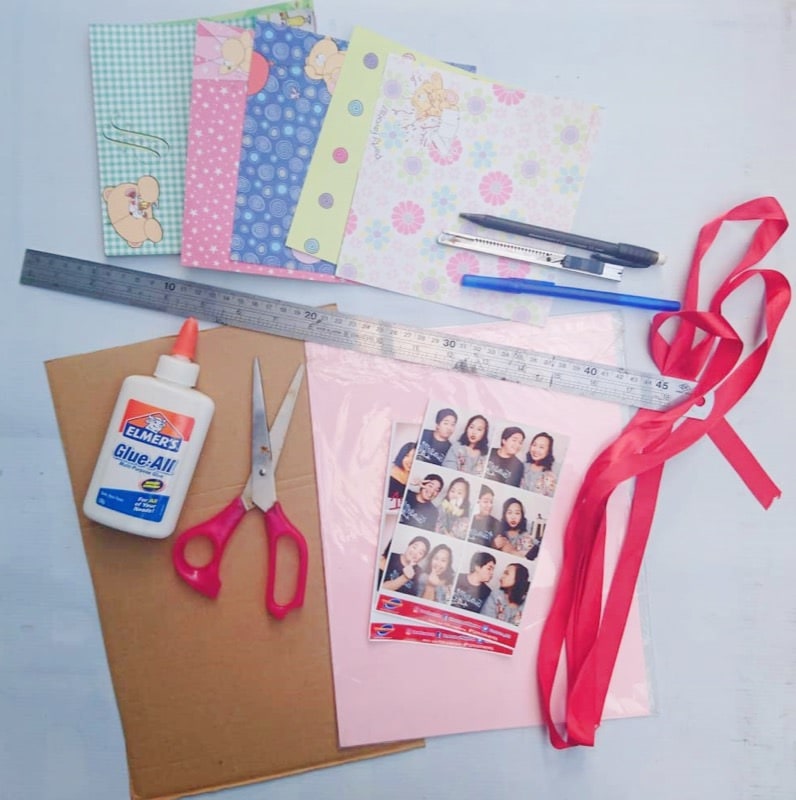
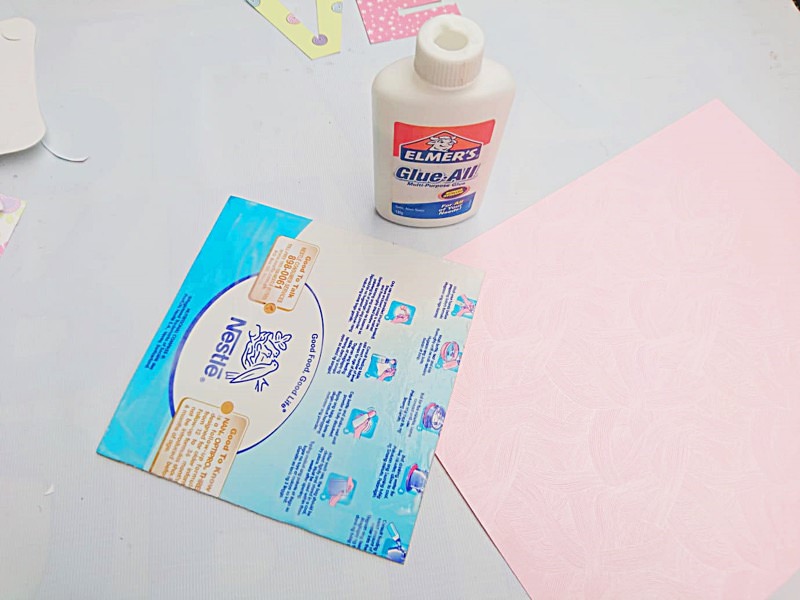
The materials that you will need: Cardboard or cereal box, Ruler, Colored Paper, Pencil or pen, Scissors, Glue, Ribbon or string, Photo
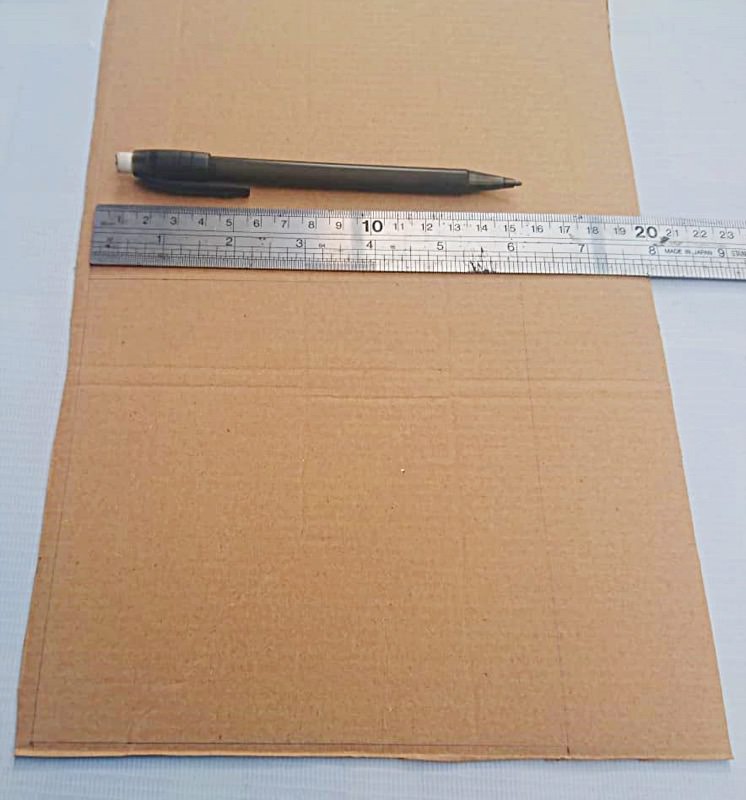
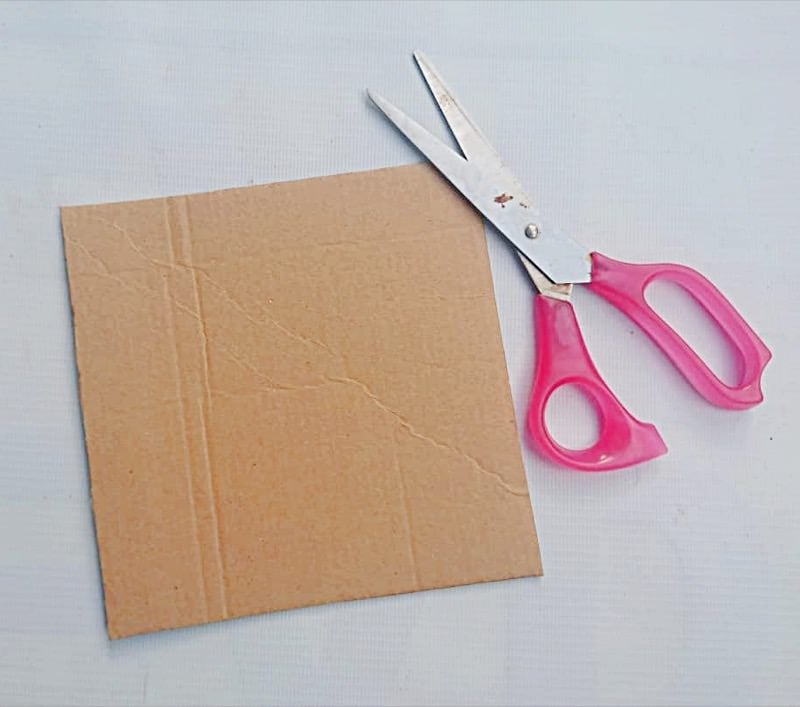
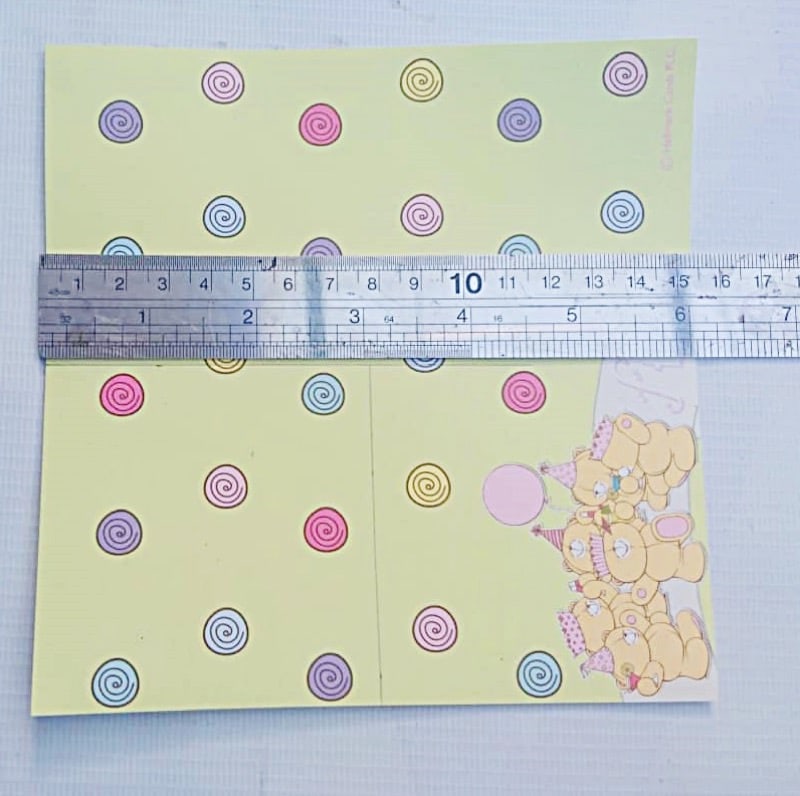
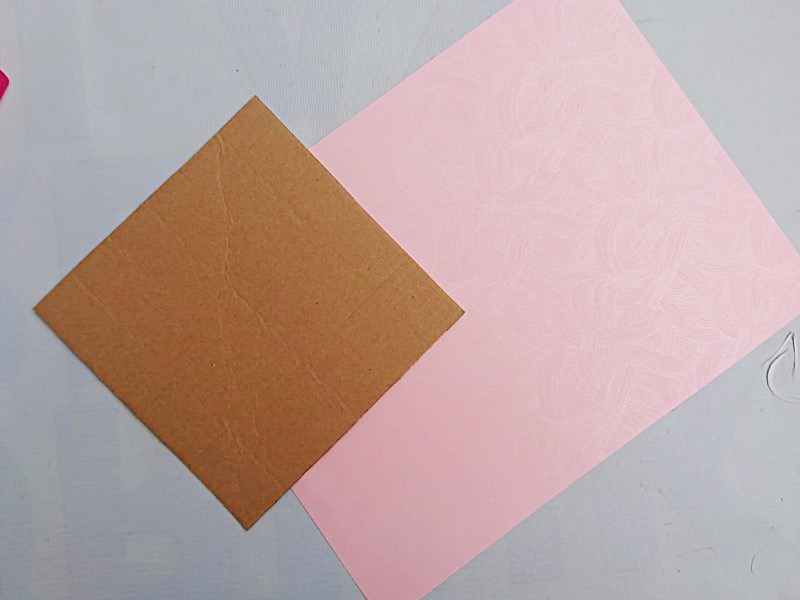
Step 1: Measure a 6×6 inch square on the cardboard and cut it. This will be the background of the DIY L-O-V-E photo frame craft. Set aside.
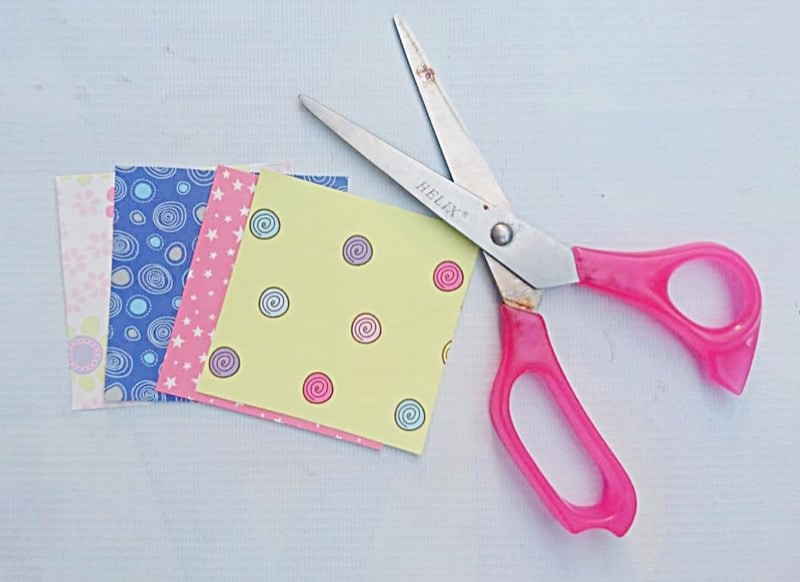
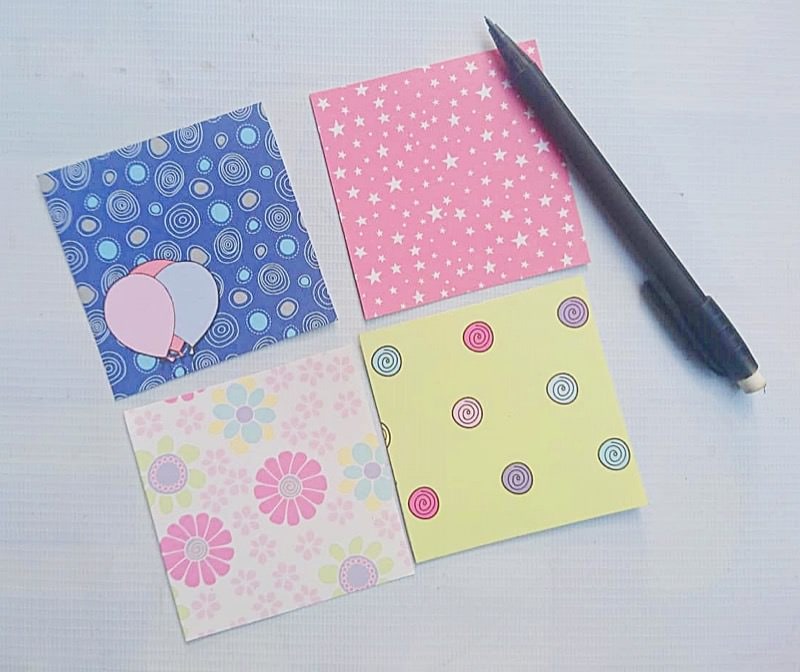
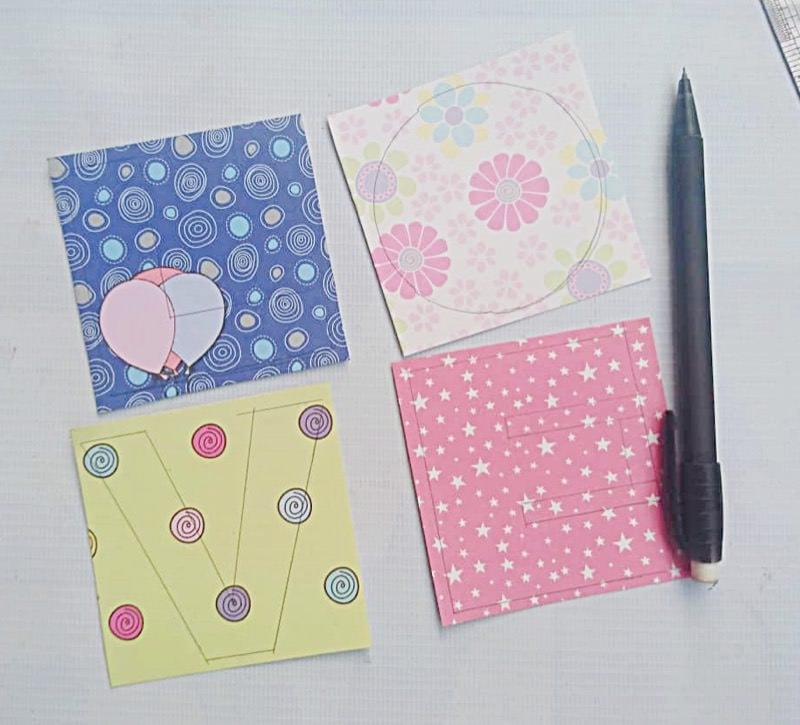
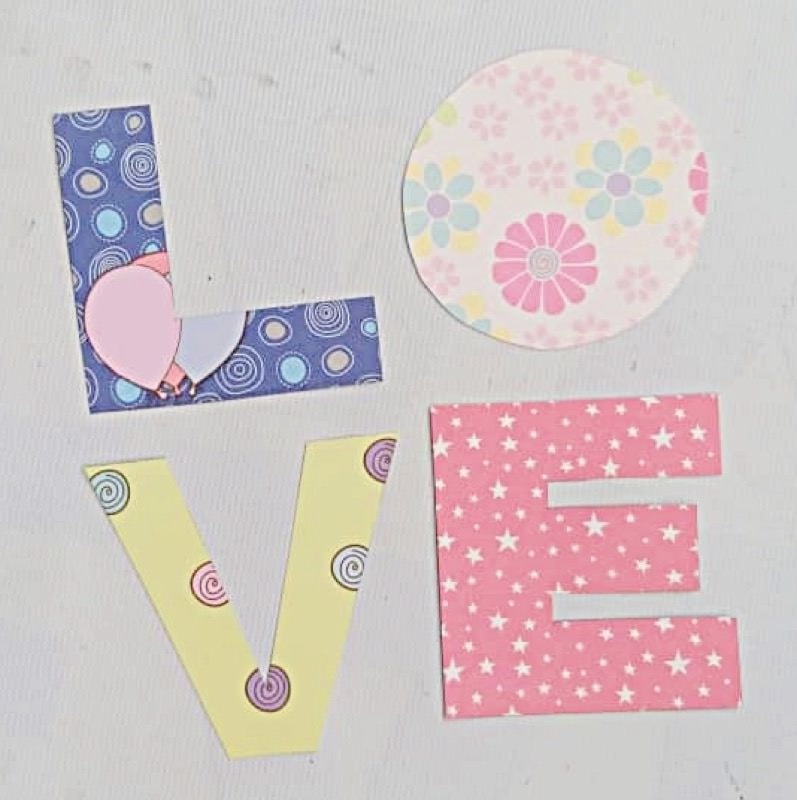
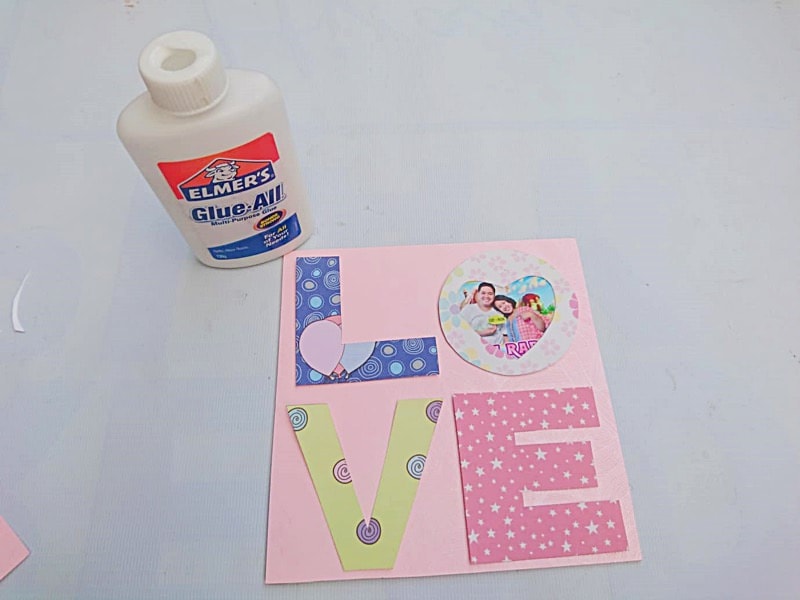
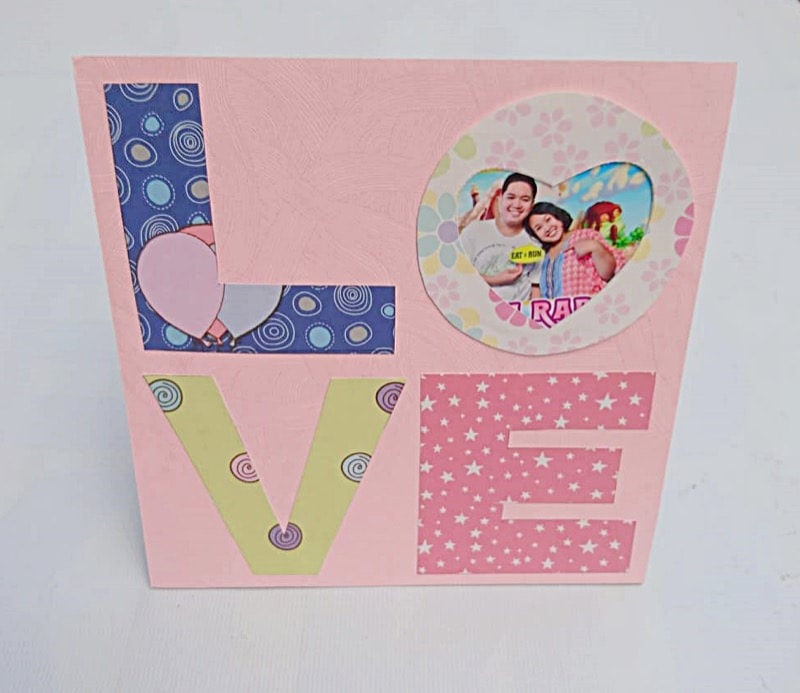
Step 2: Get 4 different colored papers and measure a 3×3 inches square. Cut each square, then draw the letters L, O, V, E. I’ve included a PDF with LOVE pattern that you can print and trace. Once done, cut out each letter.
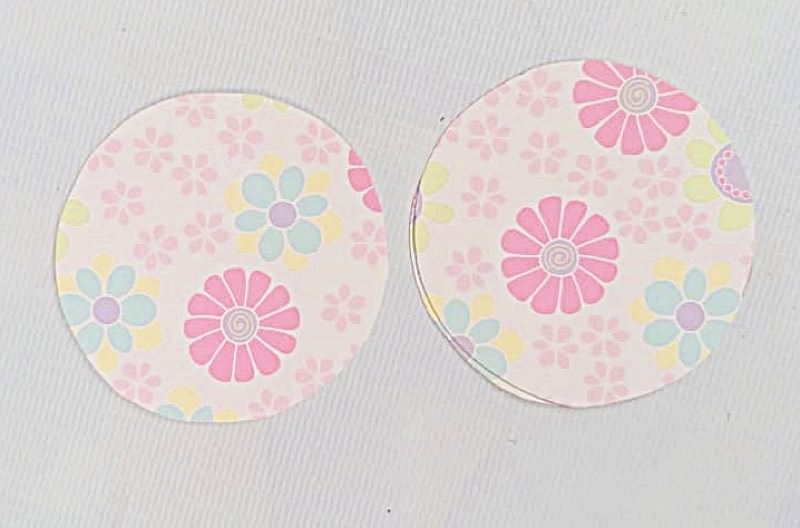
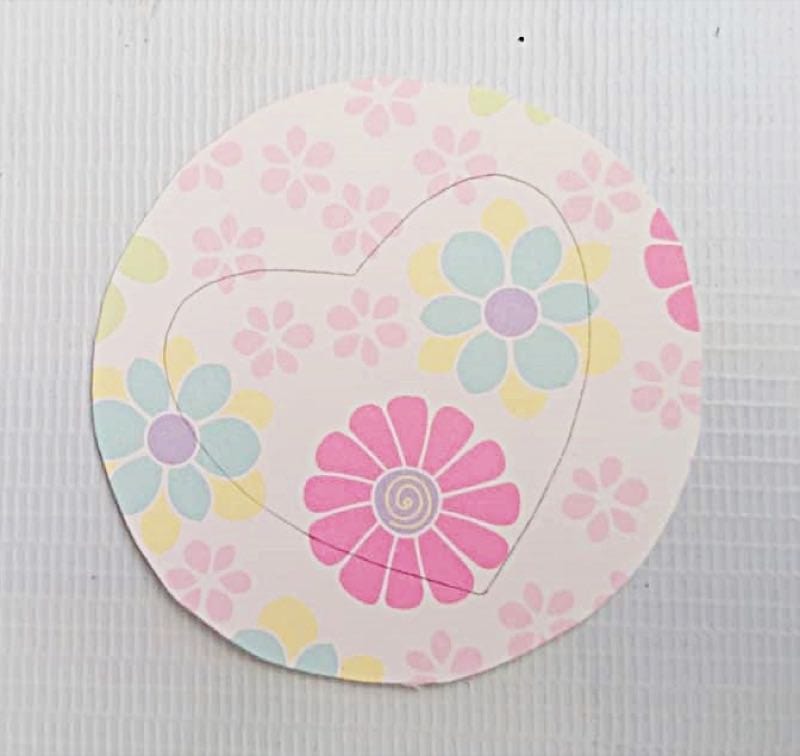
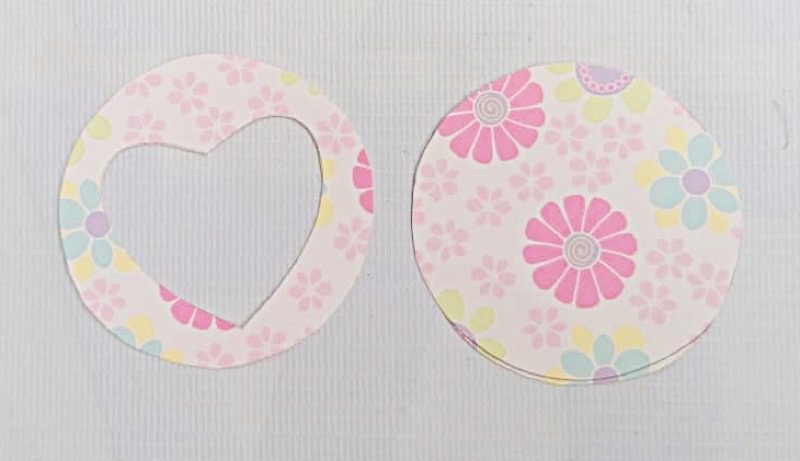
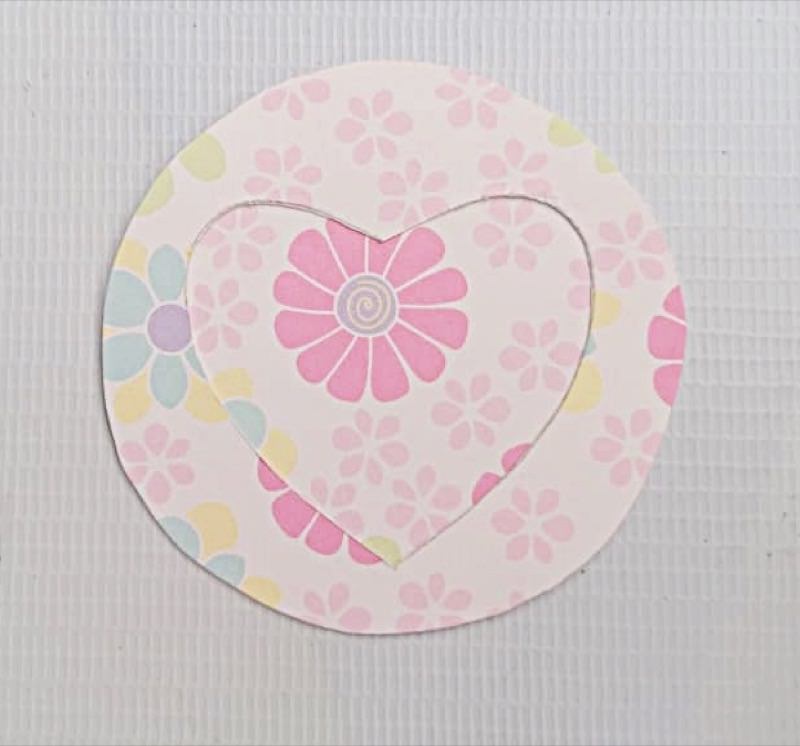
Step 3: To create the photo frame, cut another O on a spare colored paper. On one of letter O’s, draw and cut a heart shape in the center. This will be the window of the photo frame. Then attach the 2 O’s together, but only on the half part and sides so you can still insert a photo in it.
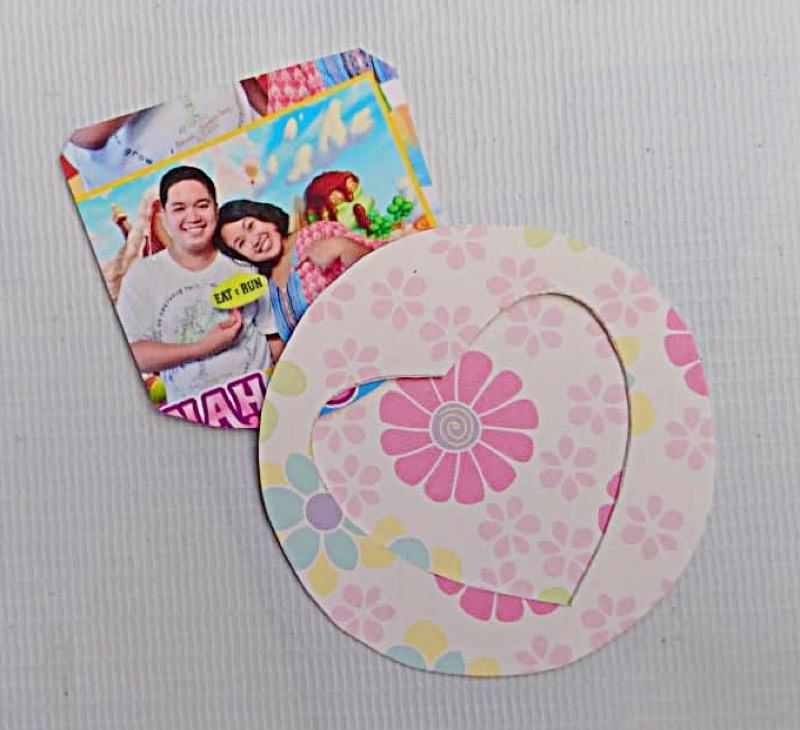
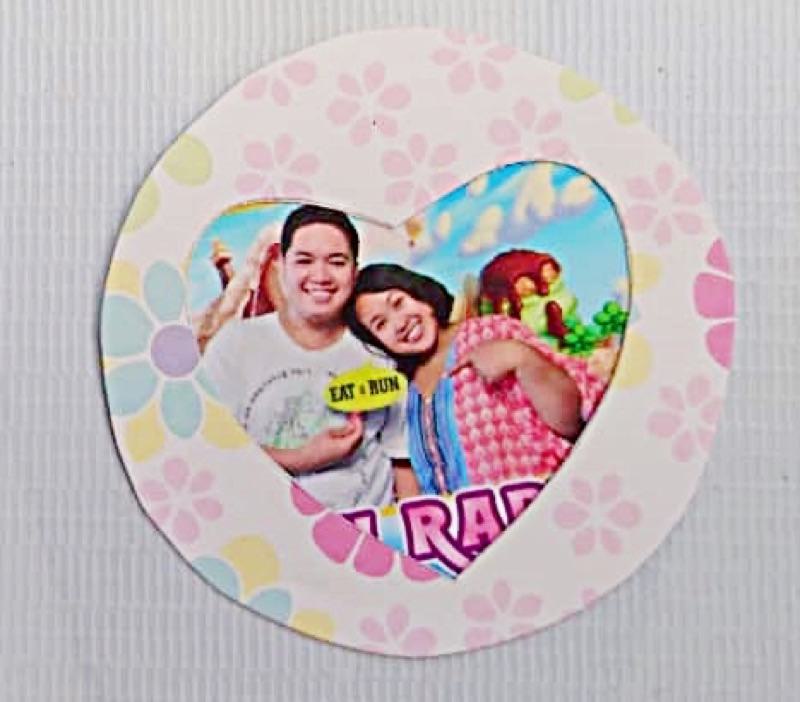
Step 4: Grab your photo and cut it a bit smaller than the letter O. What’s important is it should fit into the frame. Place the photo inside the frame.
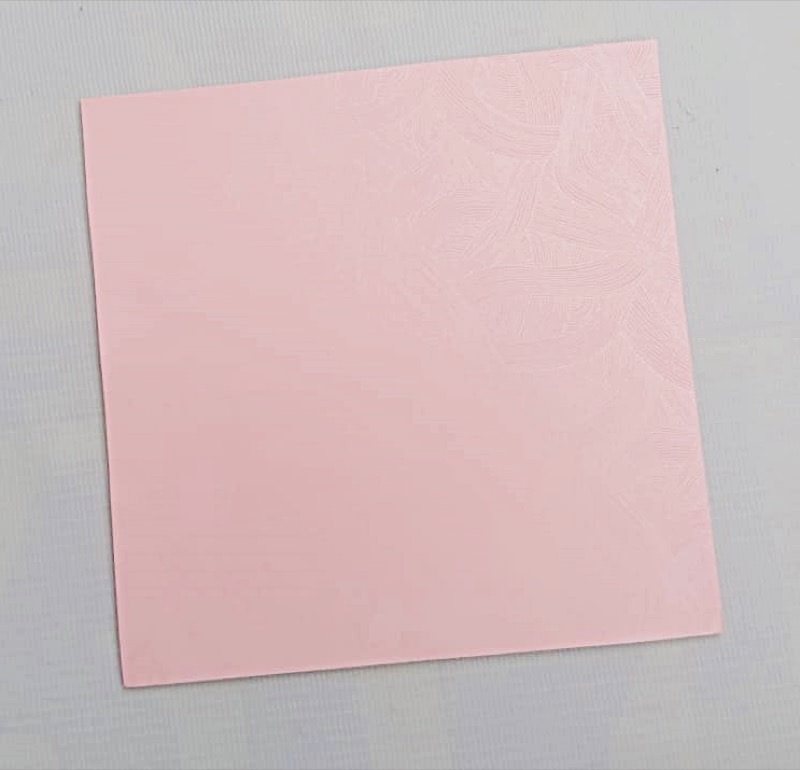
Step 5: For the background, get the 6×6 cardboard and glue another colored paper on it then cut to size.
Step 6: Now that the background is ready, it is time to assemble the letters on it. Once you’re happy with their positions, glue them to the background and you’re done!
Step 7: You can attach a ribbon or string behind the frame to hang it. Or you can add a DIY stand which is in the attached PDF as well. All you have to do is print it out and cut the shape, then glue at the back of the photo frame.
Notes: To make the activity even quicker, you can pre-cut all the letters and background especially if the allotted time for the activity is short.
Just ask the couples to bring a mini photo that will fit in a 3×3 frame. Have the materials placed in a small bag so that the couples just have to assemble and glue the pieces together.
During the activity session, encourage each couple to have a conversation with their partners. Ask them to talk about their unique love story. This way, while doing the photo frame craft, the couples are communicating with each other which is considered a vital part of every relationship. Have them write the verse 1 Corinthians 13:4-8 (see below) on the back of their photo frame.
Love is patient, love is kind. It does not envy, it does not boast, it is not proud. It does not dishonor others, it is not self-seeking, it is not easily angered, it keeps no record of wrongs. Love does not delight in evil but rejoices with the truth. It always protects, always trusts, always hopes, always perseveres. Love never fails. But where there are prophecies, they will cease; where there are tongues, they will be stilled; where there is knowledge, it will pass away. -NIV
You may even consider gifting your spouse one of these best devotionals for couples.